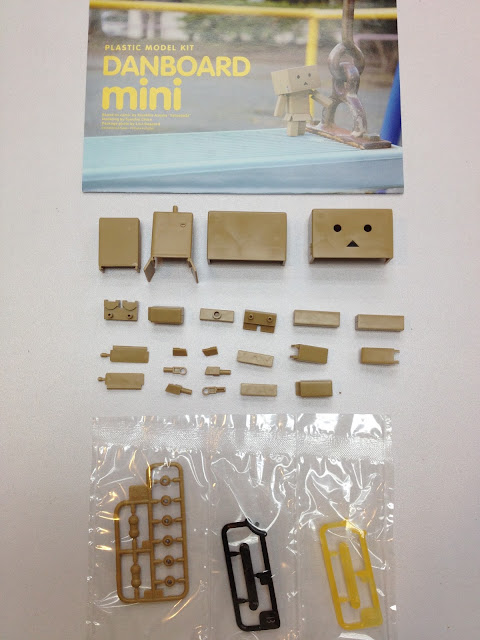
This week I'll build a small kit from Kotobukiya - Danboard Mini. I'll update the build progress in this blog from time to time, bookmark it so you won't miss any update from us. :)
To order it, click here.
All the parts are cut, the next process will be sandpaper them.
On and off people asks me about how to remove nub from the parts. I am not an expert on this, but to share, this is how I do normally (you may have your own better method). The key is "patient" while doing this process. :)
Update 19/8/2015:
Sometimes, to get a flat surface, we can sandpaper the entire part (each visible surface) instead of applying Top Coat (Flat). The key is - patient :)
All parts finished sandpaper, ready to go to painting process. :)
Feature Post
1/100 YR-04 Fire Lord – SNAA × Starry Craftsman Official Images Revealed!
The highly anticipated YR-04 Fire Lord (苍炎之魂 · 焱皇), the third installment in the “Imperial Lords” (皇者) series by SNAA and Starry Craftsman, ...

Most read articles
-
We have the winners! Congratulations to all winners! Our yearly event - DeToyz Plamo Contest 2024 is officially ended. Thanks to all con...
-
Infinite Dimension marks its 10th anniversary with a groundbreaking release, the Nemesis - Advanced Strategic Revenge Titan . This master...
-
Looking for a LEGO set that sparks creativity, brightens your space, and offers endless building fun? The LEGO Creator 3in1 31149 Flowers in...


